
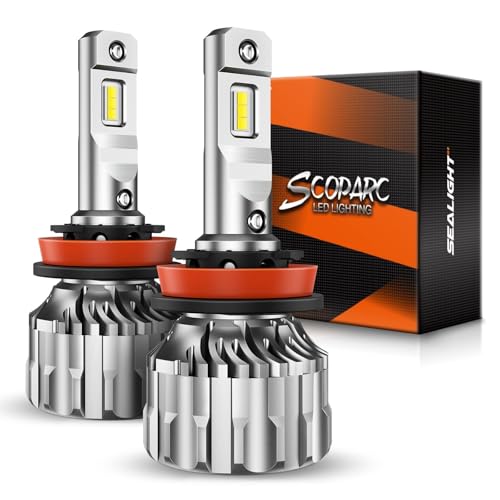
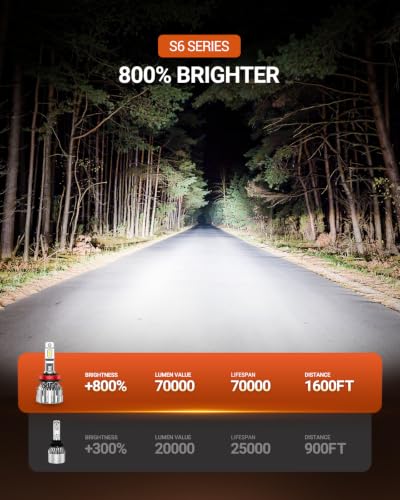
Focused Light Distribution
The LED chips are mounted on a 2mm copper circuit board intended to position the light source close to the location of a conventional halogen filament. This can help produce a more controlled beam with fewer shadows or dark areas when paired with a compatible housing.
Results depend heavily on the reflector or projector design. An LED bulb can look extremely bright near the vehicle while producing poor distance illumination if the chip placement does not match the housing optics. Review our aftermarket lighting guide before converting a halogen housing.
Active Cooling System
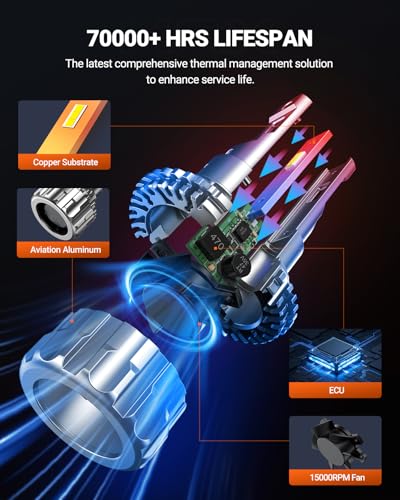
High-output LEDs generate considerable heat behind the chips. SEALIGHT addresses this with:
- Hollow heat-sink construction
- Integrated 15,000-RPM cooling fan
- Copper circuit-board heat transfer
- Ventilated bulb body
The manufacturer claims this cooling system supports a service life of up to 70,000 hours. Actual lifespan will vary with operating temperature, moisture exposure, voltage stability, installation clearance, and daily use.
Plug-and-Play Installation
A compact body and locking-ring design allow these bulbs to install into many compatible housings without cutting or splicing. Installation can often be completed in a few minutes once the original bulb is accessible.
However, check the available space behind the housing. The cooling fan and heat sink may interfere with tight dust covers or surrounding components.
Basic Installation
- Switch off the lights and disconnect the battery if recommended by the vehicle manufacturer.
- Remove the original H11, H9, or H8 bulb.
- Insert and lock the SEALIGHT bulb into the housing.
- Connect the factory wiring plug.
- Confirm that the fan and wiring clear the dust cover.
- Test the bulb for flickering or warning messages.
- Check the beam pattern against a wall before driving.
See How to Upgrade Headlights the Right Way for additional installation and compatibility advice.
Vehicle Compatibility
These bulbs are designed for vehicles using compatible:
- H11 bulbs
- H9 bulbs
- H8 bulbs
Depending on the vehicle, these sizes may serve as low-beam headlights, high beams, fog lights, or driving lights. Identical-looking bases do not guarantee that every application will fit or produce the correct beam pattern.
Confirm the original bulb number in the owner’s manual or on the existing bulb. Also check:
- Projector or reflector housing design
- Dust-cover clearance
- Factory LED or HID equipment
- CANbus monitoring
- Daytime-running-light operation
- Bulb orientation and locking-tab position
Use our guide to identifying automotive bulb sizes before ordering.
CANbus Compatibility
The integrated driver is designed to reduce flickering, radio interference, and bulb-out warnings in most vehicles. SEALIGHT advertises compatibility with 99.9% of vehicle systems, but this should be treated as a manufacturer estimate.
Some sensitive vehicles may still require a decoder, resistor, or anti-flicker module. Confirm operation before reinstalling every cover and trim panel—unless removing everything twice is how you planned to spend Saturday.
Specifications
| Attribute | Details |
|---|---|
| Brand | SEALIGHT |
| Bulb Sizes | H11, H9 and H8 |
| Lighting Technology | LED |
| Color Temperature | 6500K |
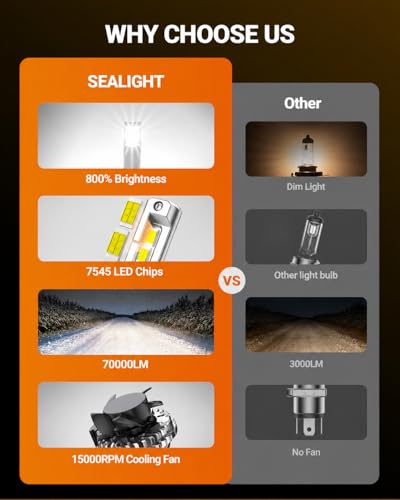
| Advertised Output | 70,000 lumens per kit |
| LED Chip | 7545 CSP |
| Circuit Board | 2mm copper |
| Cooling | Integrated fan and hollow heat sink |
| Fan Speed | 15,000 RPM |
| Advertised Lifespan | Up to 70,000 hours |
| Driver | Integrated intelligent driver |
| CANbus Support | CANbus-ready |
| Quantity | Two bulbs |
Street-Legal Use and Safety
Confirm local regulations before installing these bulbs in road-going headlights. Federal lighting requirements cover replacement lamps and associated equipment, and NHTSA has stated that LED light sources are not currently permitted as replacements in headlamps designed for replaceable halogen bulbs.
Fog-light and off-road applications may be regulated differently. Never assume that “fits the socket” automatically means “approved for every public-road application.” Check the finished beam for glare, scattered light, dark spots, and proper cutoff.
After installation, follow our guide on how to aim headlights and verify that the light stays below oncoming drivers’ eye level.







There are no reviews yet.