
Specifications
| Specification | Details |
|---|---|
| Brand | TRQ |
| Product line | Performance |
| Manufacturer part number | HLA90344 |
| Seller SKU | 1ALHP01691 |
| Product type | Headlight assembly set |
| Grade | Performance |
| Lens material | Polycarbonate |
| Lighting configuration | Factory-style replacement housing |
| Installation type | Direct fit |
| Quantity | 2 assemblies |
| Driver-side assembly | Included |
| Passenger-side assembly | Included |
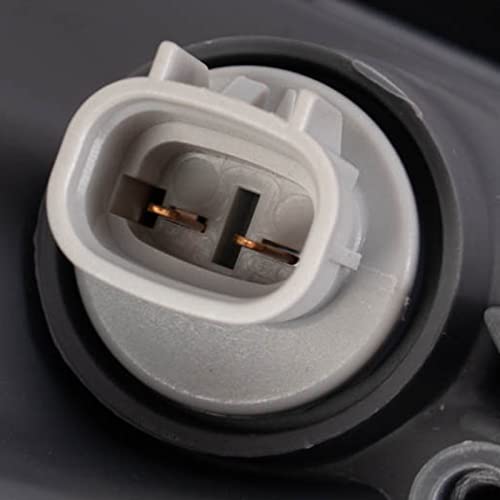
| Bulbs and hardware | Transfer may be required |
| Warranty | Limited lifetime, subject to warranty terms |
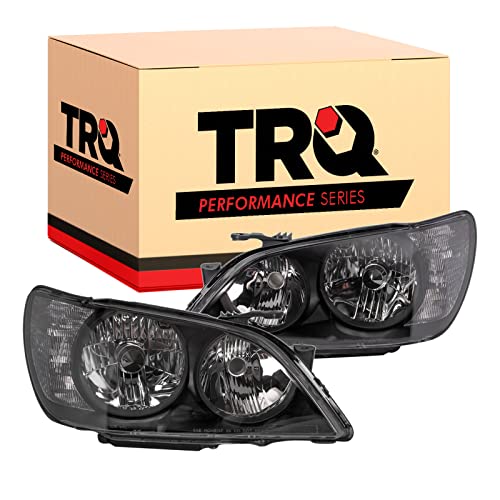
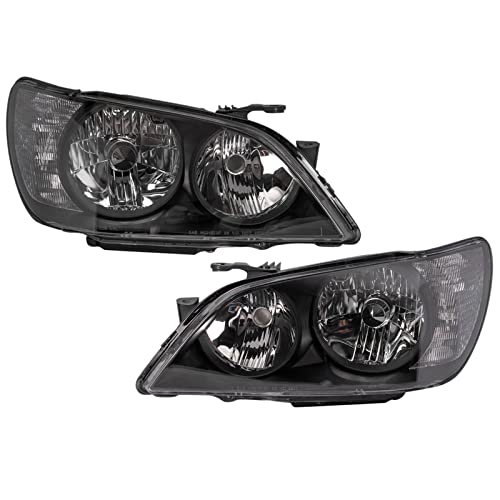
TRQ’s listing identifies polycarbonate lenses, a two-piece configuration and direct-fit installation without vehicle or wiring modifications.
Important Factory HID Fitment Notice
The submitted product data identifies the assemblies as halogen technology, but the listed interchange numbers and seller Q&A indicate that existing lighting components may need to be transferred from the original housings. The assemblies do not automatically bypass a factory HID ballast.
Before ordering, inspect your IS300 and confirm:
- Factory halogen or HID/Xenon configuration
- Headlight connectors
- Ballasts and igniters
- Bulb sockets
- Leveling or adjustment hardware
- Rear covers and seals
- Production year and trim
The seller states that these are replacement shells and that original components must be transferred where required. Assemblies may also include temporary test bulbs that should be replaced before installation.
This is exactly why “fits IS300” isn’t quite enough. Lexus managed to make a headlight purchase require nearly as much investigation as a used 2JZ swap.
For additional guidance, read Do Aftermarket Headlights Fit Your Car? before ordering.
Restore Cloudy or Damaged IS300 Headlights
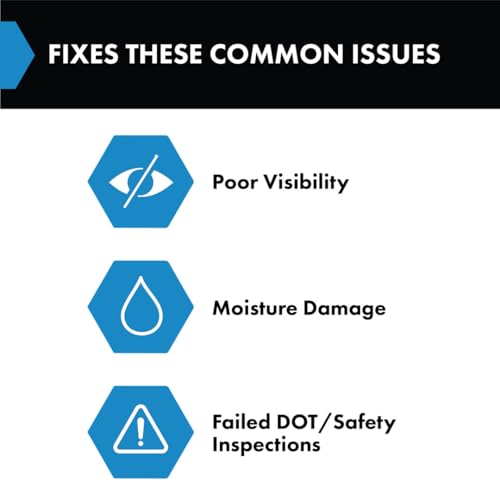
The original IS300 is now more than two decades old. Sun exposure, road debris, failed seals and previous repairs can leave the factory housings with:
- Yellowed or hazy lenses
- Internal condensation
- Cracked mounting tabs
- Peeling internal finishes
- Damaged adjusters
- Uneven output
- Mismatched driver- and passenger-side housings
Lens restoration can improve lightly oxidized headlights, but it cannot repair broken mounting points, damaged reflectors or chronic water intrusion. When the housings themselves are worn out, replacing both assemblies is usually the cleaner long-term repair.
Our headlight-upgrade guide explains when restoring a lens makes sense and when replacing the entire assembly is the better move.
Direct-Fit Installation
These TRQ assemblies use factory-style mounting locations and are designed to bolt into the original positions. Installation may still require transferring components from the old housings, including bulbs, sockets, ballasts, igniters, covers or adjusters depending on the vehicle’s equipment.
Installation overview
- Disconnect the negative battery cable.
- Remove the necessary grille, bumper or upper trim components.
- Disconnect the headlight wiring.
- Remove the original headlight mounting bolts.
- Carefully remove each factory assembly.
- Transfer the required bulbs, ballast equipment, covers and hardware.
- Position the replacement housings and start all fasteners by hand.
- Check alignment with the hood, fenders, grille and bumper.
- Tighten the mounting hardware evenly.
- Reconnect the wiring and test every lighting function.
- Confirm that all rear covers and seals are installed correctly.
- Aim both headlights before driving at night.
Do not force a housing into position or tighten one mounting point before the others are aligned. Headlight tabs are remarkably talented at snapping just after the return window closes.
Aim the Headlights After Installation
A direct-fit housing still needs to be checked and aimed after installation. Small differences in housing position, suspension height or previous collision repairs can move the beam enough to reduce visibility or create glare.
Park the vehicle on level ground and follow the proper adjustment procedure. Our complete headlight aiming guide explains how to mark the beam pattern and adjust both sides evenly.
Reference and Interchange Numbers
- 81110-53040
- 8111053040
- 81150-53040
- 8115053040
- LX2502121
- LX2503121
These numbers are provided for interchange reference. They do not guarantee that every lighting component, bulb, ballast or internal feature matches the original Lexus assembly. TRQ likewise advises using vehicle-specific fitment verification.
Compliance Information
The seller lists the assemblies as compliant with applicable DOT, SAE and federal on-road lighting requirements. Verify that all required compliance markings are present on the delivered housings before installation.
One version of the seller’s description references FMVSS No. 111, but that standard concerns rear visibility rather than headlamp performance. For that reason, the product page should avoid repeating the specific “FMVSS 111” claim unless TRQ supplies corrected documentation. Headlamp requirements are generally addressed under FMVSS No. 108.
Limited Lifetime Warranty
The seller provides a limited lifetime warranty covering manufacturing defects during intended use. Coverage applies to the replacement part itself and excludes normal wear, misuse, abuse, accidental damage and unauthorized modification. Labor and related installation costs are not included.
Why Choose the TRQ IS300 Headlight Set?
Replacing both housings restores a cleaner, more consistent appearance than installing one new assembly beside a faded original. The direct-fit design also avoids the extra wiring, improvised brackets and alignment problems often associated with universal lighting upgrades.
For more first-generation IS300 technical information, visit the Lexus IS300 and 2JZ-GE torque specifications guide or shop additional replacement and performance parts at Pro Street Online.


![JSBOYAT – For 2011-2017 Honda Odyssey [Halogen Model] OEM Projector Headlight Headlamp Assembly Replacement Pair Set (Chrome Housing & Amber Reflector)](https://m.media-amazon.com/images/I/51boumXontL._SS300_.jpg)



There are no reviews yet.