
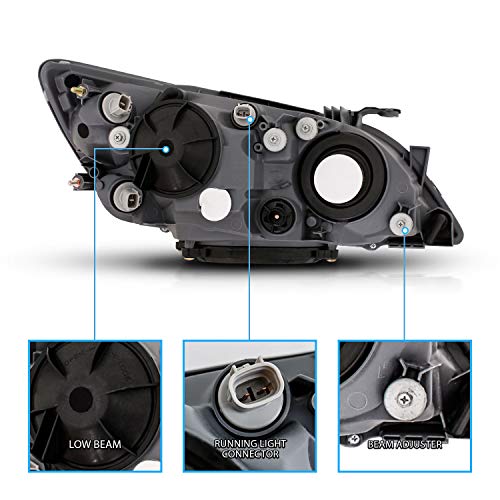
OEM-Plus IS300 Styling
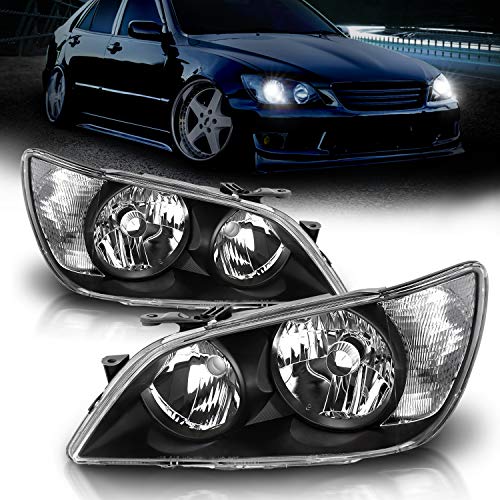
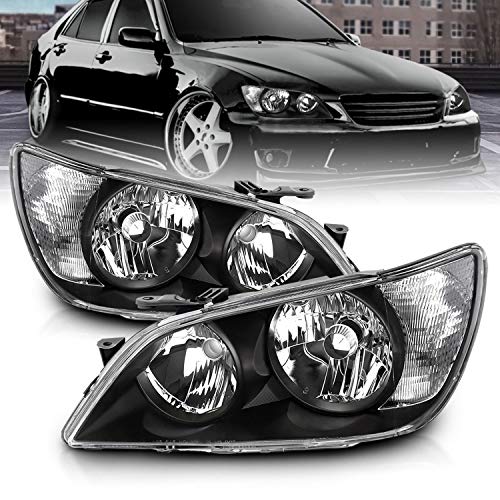
These assemblies retain the recognizable shape of the first-generation IS300 headlights while replacing the bright internal finish with a darker black treatment. The result works well on factory restorations, street builds and lightly modified cars that need a sharper front end without an obvious halo or LED-strip conversion.
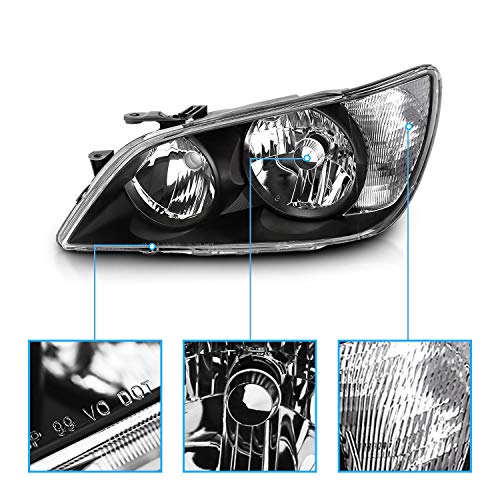
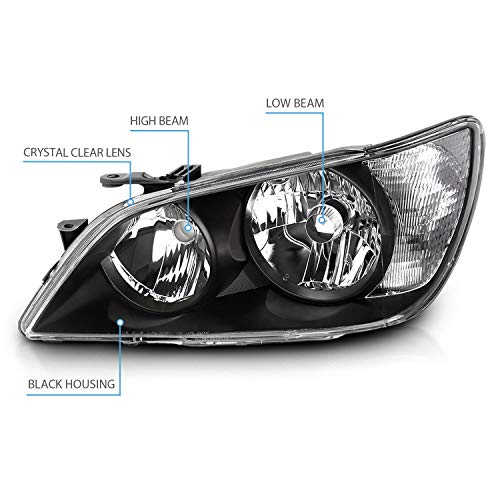
The clear lens preserves visibility and keeps the housing from looking heavily tinted. Black internals create the darker appearance without putting smoked plastic directly in front of the beam.
Projector Optics
A projector headlight uses a reflector, cutoff shield and lens to direct the low-beam pattern. Correct bulb placement and proper aim are essential to getting the intended output.
The projector design can provide a defined cutoff, but the word “projector” is not a magic spell. A poor bulb choice or badly aimed housing can still produce weak output, dark spots or glare.
Read Halo Headlights vs Projector: Which Wins? for a practical explanation of the difference between projector optics and decorative halo lighting.
Important HID and Bulb Notice
The listing states that an HID kit is not included. This does not automatically mean that a universal HID conversion kit should be installed.
Before ordering, verify:
- Original halogen or HID/Xenon lighting
- Required low- and high-beam bulb sizes
- Factory ballast and igniter configuration
- Main electrical connectors
- Headlight-leveling hardware
- Rear covers and seals
- Original housing part numbers
Some IS300 applications may require transferring bulbs, ballasts, igniters, sockets or related hardware from the original housings. Confirm the exact factory lighting package before taking the front end apart.
Our guide, Do Aftermarket Headlights Fit Your Car?, explains why matching the year and model is only the beginning of proper headlight fitment.
Direct-Replacement Installation
AmeriLite describes these housings as direct OEM replacements using the factory mounting locations. Installation instructions are not included, and professional installation is recommended.
A typical installation includes:
- Disconnect the negative battery terminal.
- Remove the required grille, bumper and upper trim.
- Disconnect the factory lighting harness.
- Remove the original assemblies.
- Compare the mounting tabs, rear openings and connectors.
- Transfer the required bulbs and factory lighting hardware.
- Install the replacement assemblies loosely.
- Check gaps against the hood, fenders and bumper.
- Connect and test every lighting function.
- Tighten the mounting hardware evenly.
- Reinstall the bumper and trim.
- Aim both headlights.
Test everything before reinstalling the bumper. Otherwise, a loose connection will wait patiently until every clip and bolt is back in place. Cars respect tradition.
Aim the Headlights After Installation
Replacing a complete housing can change the beam’s vertical and horizontal position. Both sides must be checked and aimed before normal nighttime driving.
An incorrectly aimed projector can reduce useful visibility or direct its cutoff into oncoming traffic. Follow the Pro Street guide on how to aim your headlights after installation.
Check the Seals Before Installation
Inspect each assembly before installing it:
- Lens-to-housing seam
- Rear bulb openings
- Vent tubes
- Wiring grommets
- Connector seals
- Mounting tabs
- Adjustment mechanisms
All rear covers must be installed correctly. Persistent condensation or standing water indicates a sealing or ventilation problem that should be corrected before it damages bulbs, ballasts or connectors.
For more help selecting and installing replacement lighting, read the complete Pro Street aftermarket lighting guide.
DOT and SAE Compliance
AmeriLite states that these assemblies meet or exceed applicable U.S. and Canadian DOT and SAE requirements. Confirm that the delivered housings carry the required permanent compliance markings before installation.
Do not install incompatible bulbs or conversion hardware that changes the intended beam pattern. A compliant housing can become a noncompliant lighting system when paired with the wrong light source.
Why Choose AmeriLite OE-Type IS300 Headlights?
This pair provides a coordinated replacement for both sides of the car, restores clear lenses and adds black internal styling without LED halos or elaborate accent lighting. It is a straightforward option for owners who want the IS300 to look refreshed rather than reinvented.
Shop additional Lexus lighting and performance parts at Pro Street Online or review our guide on upgrading headlights the right way.






There are no reviews yet.