
Installation Notes
Allow the engine to cool completely before opening the cooling system. Hot coolant is pressurized and has a remarkably effective way of turning a simple hose replacement into an emergency-room story.
Drain the coolant into a suitable container before removing the original hoses. Clean each connection surface, inspect the radiator necks and verify that every replacement hose is fully seated before tightening the supplied clamps.
Position each worm-drive clamp behind the raised bead on its fitting. Tighten the clamps evenly without crushing the hose or damaging plastic cooling-system connections.
After installation:
- Refill the system with the correct coolant.
- Bleed trapped air according to the vehicle’s service procedure.
- Bring the engine to operating temperature.
- Inspect every connection for leaks.
- Recheck the coolant level after the engine cools.
- Inspect clamp tension again after several heat cycles.
Why Replace the Heater Hoses Too?
Radiator hoses receive most of the attention because they are easy to see. Heater hoses live farther back in the engine compartment and are therefore commonly ignored until they leak somewhere inconvenient.
Replacing the radiator and heater hoses together provides a more complete cooling-system refresh. If the original hoses are the same age, replacing only the most visible one leaves several other pieces of aging rubber in service.
What’s Included?
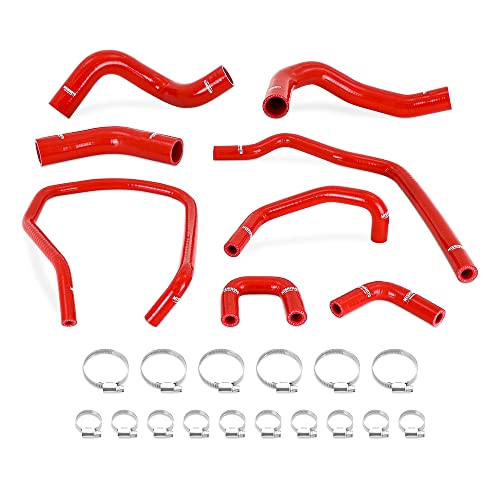
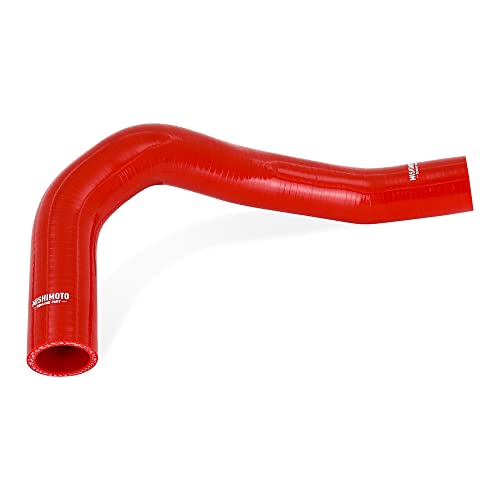
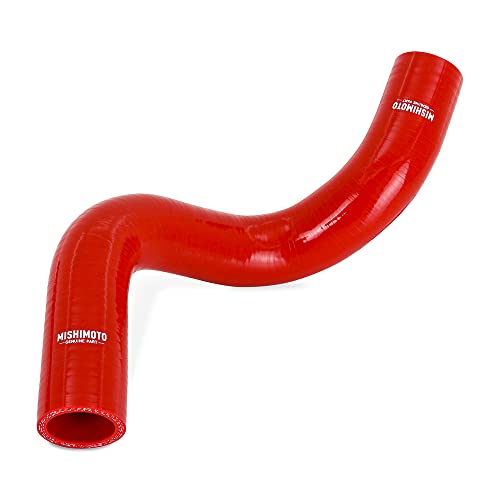
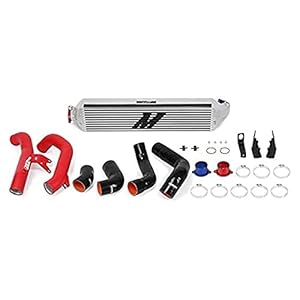
- Red upper radiator hose
- Red lower radiator hose components
- Red heater hoses
- Stainless-steel worm-drive clamps
- Mishimoto Lifetime Warranty coverage



There are no reviews yet.